How to properly calibrate your pressure sensor?
Pressure transducer calibration is a crucial step in the measurement and monitoring of pressure in various industries. Accurate pressure data are essential to guarantee the safety of industrial processes, product quality and system reliability. Whether you use pressure transducers in automation, manufacturing, meteorology or other fields, knowing how to properly calibrate these devices is imperative.
The following article explores in detail the importance of calibrating pressure transducers, and provides a comprehensive guide to carrying out this operation successfully. You’ll discover the essential steps you need to take to ensure accurate measurements, the tools you need to complete the process, and practical tips for optimizing the performance of your pressure sensors. Let’s dive into the world of pressure sensor calibration and learn how to maximize the reliability of your pressure data.

SOMMAIRE
What is a pressure gauge? and above all, what’s it for?
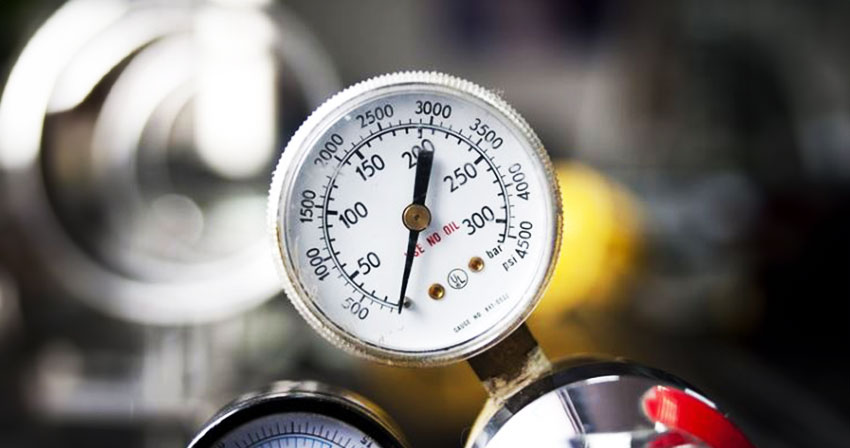
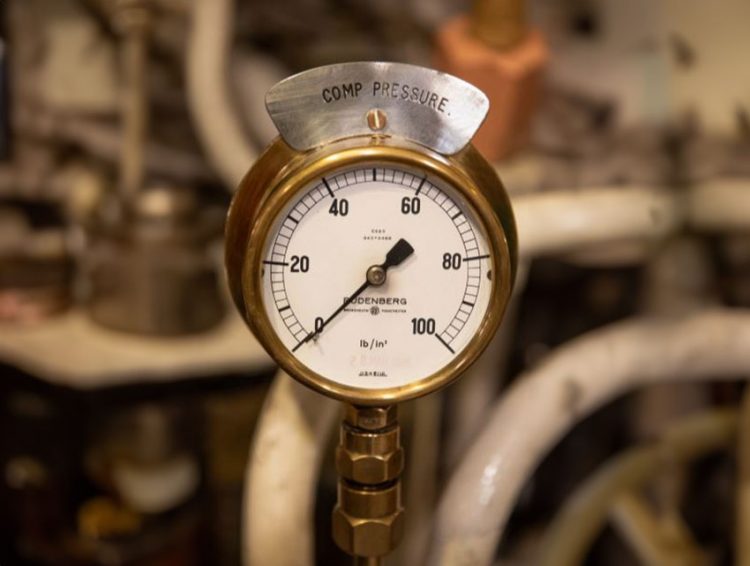
The manometer is an instrument for measuring pressure, also known as a “pressure sensor” or “pressure probe”.
What is calibration?
Calibration is a technique used to compare two instruments so that they have the same measurements in the same place and under the same conditions. When it comes to test benches, it’s essential to properly calibrate your pressure gauge to ensure accurate results and avoid measurement errors.

How do you calibrate your pressure gauge?
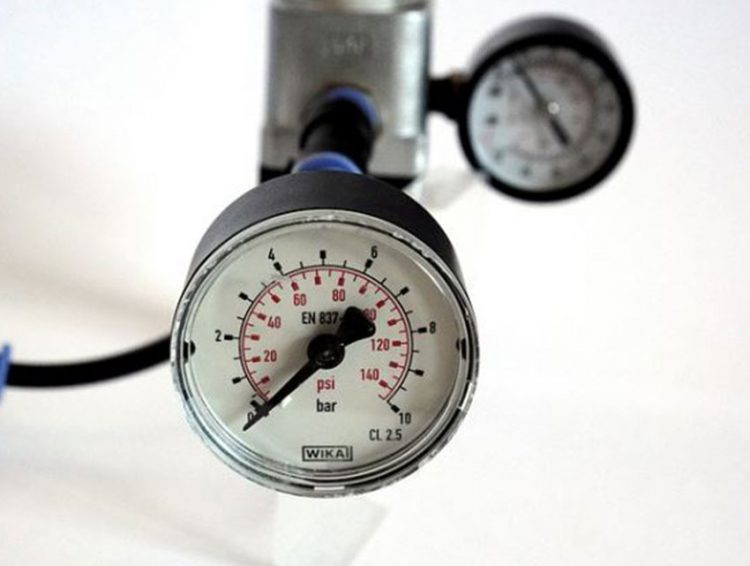
First of all, it’s important to know that not all pressure gauges are the same, and that they can be classified according to their accuracy. Accuracy class is defined in % of range, according to EN837 (0.1 and 4% of range) and ASMEb40.100 (0.1% and 5% of range).
You need to know the accuracy of your measuring instrument.
Here are the steps to follow when calibrating your pressure gauge
Do you have a project ? Contact our test bench experts
Which substances can be pressurized?
Substances that can be pressurized include gases (air or nitrogen) and liquids (water, oil or other).
In general, manometers are calibrated at low pressure with gas and at high pressure with liquid, for greater safety and practicality.
Precautions for use
If you use a substance and leave traces/use a potentially hazardous substance during a test, you must clean your manometer. This applies to both test and calibration periods.
Height difference
When calibrating a pressure gauge, it is also important to take into account the difference in height between equipment. (height generates pressure due to liquid density and gravity)
If it is not possible to reach the same height, this effect must be taken into account and calculated for the calibration.
Impact of temperature
When testing pressure gauges, you need to take temperature into account. If the temperature is too high or too low, the density, and therefore the pressure, will change.
To avoid false readings, it’s best to ensure that a reliable, constant temperature is maintained in the system before concluding that the result is incorrect.

Don’t overtighten your pressure gauge
There are pressure gauges with pressure connections that can quickly give the wrong reading if over-tightened (or at least with excessive force). To avoid problems in this area, use the instructions and equipment recommended by the manufacturer.
Respect a certain calibration and mounting position
This goes without saying, but it’s best to use your pressure gauge in the same position for both test and process applications. There are also frequently recommendations from the manufacturer on how to set up the machine and in what position.
Create pressure to calibrate the manometer
To calibrate it, you need to apply pressure to the manometer. There are several possible solutions.
- Manual pumps
- Motorized pumps
- Pneumatic pressure regulator
Preparing your pressure gauge
It’s a good idea to bring your pressure gauge up to temperature before use, especially if it hasn’t been used for a long time.
A good technique for “warming up” your manometer is to apply maximum pressure for 1 minute, then pause before resuming the procedure. You can apply this process 3 times before starting the calibration cycle.
Reading the pressure reading
Non-digital pressure gauges are not the easiest to read in terms of accuracy. Needle dials do not provide an accurate display of the measurement. To visualize properly, it is necessary to face the needle.
This kind of thing doesn’t concern you if you’re equipped with a digital pressure gauge. In this case, the reading will logically be accurate in all cases.
Take hysteresis into account
According to the Petit Robert, hysteresis is the delay of effect over cause in the behavior of bodies subjected to physical action. In the case of pressure gauges, this defect may be more or less significant. In our case, this means that the pressure gauge indication, for the same pressure value, is not the same.
whether it comes from increasing or decreasing pressure.
To cope with this phenomenon, and therefore to measure hysteresis, we need to calibrate the manometer with falling or rising pressure points.
Perform several calibration cycles
For all types of test, you should try to perform several tests to be sure of your results. The same applies to calibration: if your machine has poor repeatability, you’ll get different results every time. To do this, you can perform 3 calibration cycles, as mentioned above.
Make setting corrections/adjustments
When the manometer calibration is not correct, an adjustment must be made.
If the pressure gauge is not adjustable, a correction must be taken into account and implemented. This correction is used for calculations and readjustments, and must be taken into account for measurements. In the event of major errors, it’s best to change your sensor, for better use and more reliable testing.
Documenting your calibration
To properly calibrate your manometer, it is essential to record/document the calibration. An error calculation must be carried out on the document created, taking into account the information contained in the various standards and potential uncertainties/imprecisions. To help you with your measurements, some software programs can automatically calculate the calibration and report back to you on a document.
Taking external conditions into account
In the majority of cases, the manometer manual mentions that attention must be paid to the influence of external factors such as temperature. Pressure gauges are normally set at room temperature, but during operation they may encounter varying climatic conditions.
These temperature differences can lead to calibration errors. External factors must therefore be mentioned in any calibration report, whether for temperature or humidity.

Take account of calibration faults
Calibration is never perfect, and you must always allow for a potential margin of error. Consequently, you need to know the uncertainty of your measurements, otherwise your result cannot be considered reliable. The TUR (Test Uncertainty Report) or TAR (Test Accuracy Report) can be used for this purpose, so that you don’t have to calculate the uncertainty yourself.
To properly calibrate your pressure gauge, don’t hesitate to call on a specialist who can advise you on how to comply with current standards.