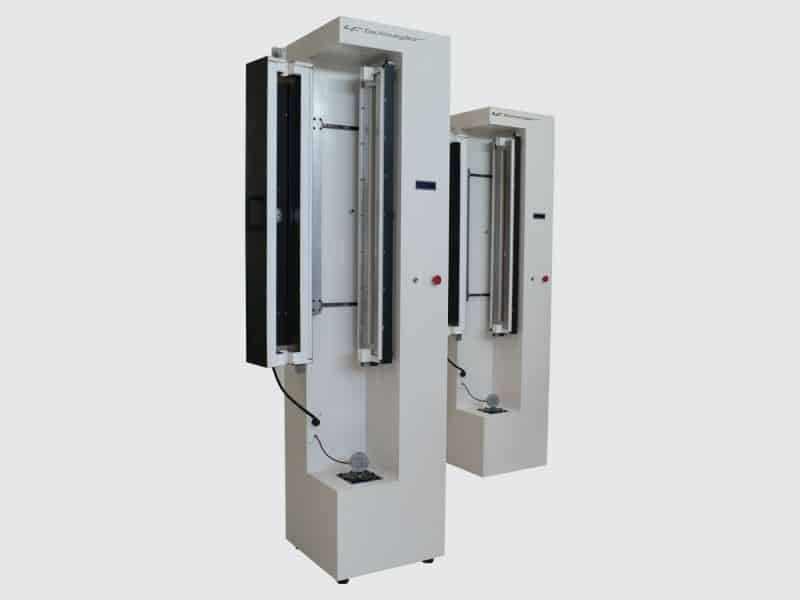
Creep Test Bench
- Drift-free, high-resolution force transducer
- Optical extensometer for strain measurement
- Thermal enclosure for forced-air temperature control
- Simple attachment of specimens and optical calibration rulers
Products tested
Sector of activity
Main functions
The creep test bench makes it possible to carry out tensile and compression creep tests on one or more standard specimens in a controlled temperature enclosure (up to +250 °C). The force is applied by an electric cylinder controlled by a strain gauge sensor. Strain measurement can be provided by digital cylinder position or a high-resolution digital camera extensometer system. This bench also allows to carry out conventional tests of traction at a fast speed.
Operating mode
The specimens are attached in “series” thanks to specific clamps. Series assembly ensures total equality of the faces applied to each specimen. After initial loading, the bench applies a controlled creep force. To carry out elongation measurements with the optical extensometer, the operator selects two optical marks on each specimen, which will be used as a reference for the length measurement. The cameras then move automatically to follow the position of each marker.
Bench developed to meet these standards:
Advantages of the creep test bench
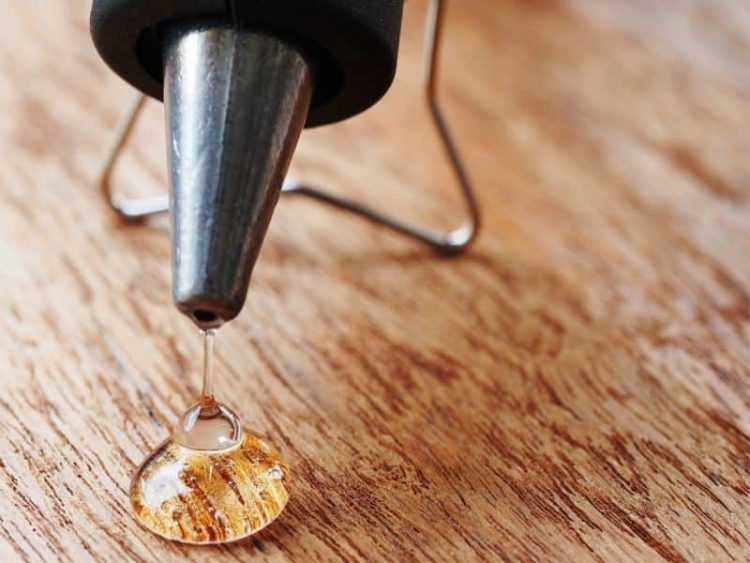
Bonded assembly
Glue characterization by measuring long-term flow between two parts.
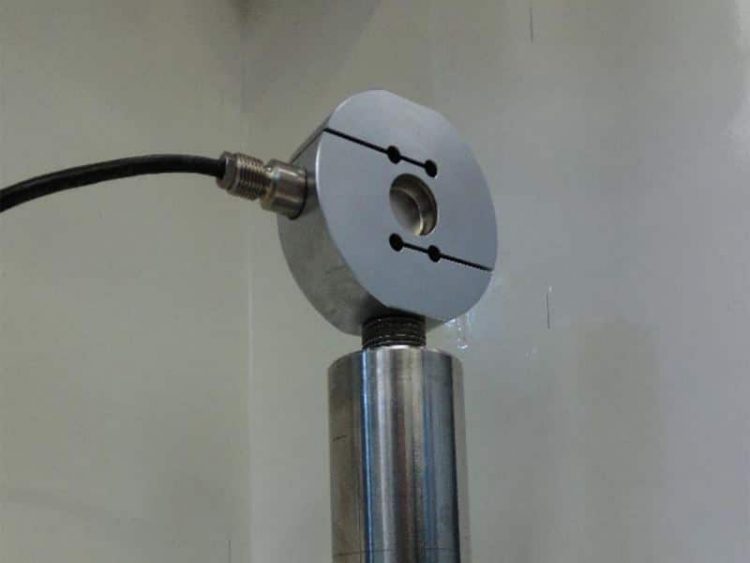
Force sensor
Drift-free, high-resolution force transducer.
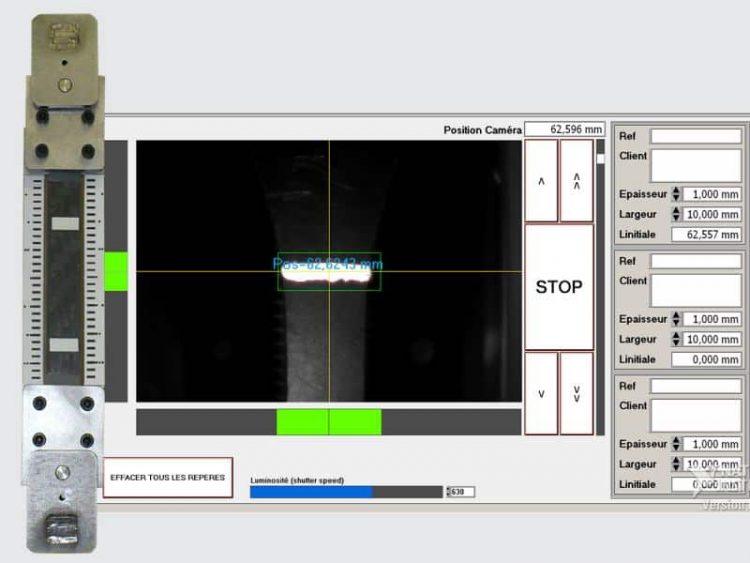
Optical extensometer
Deformation is measured using an optical extensometer.
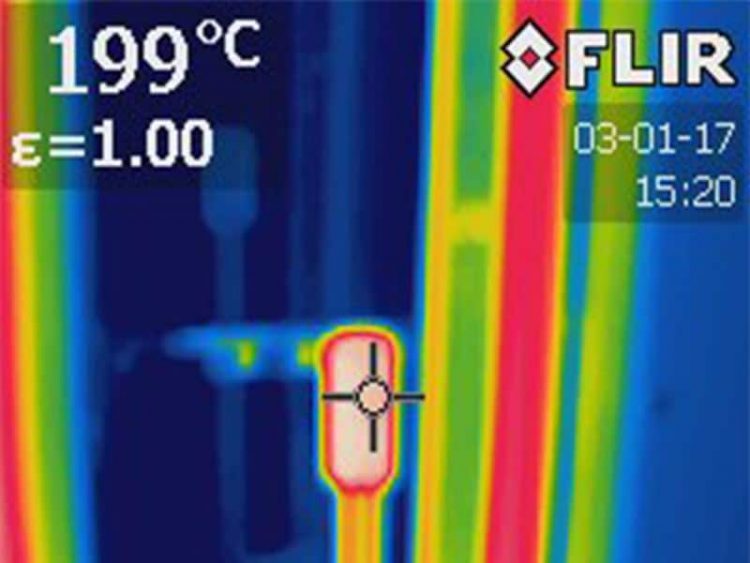
Thermal enclosure
Automatic room temperature control using forced-air technology.
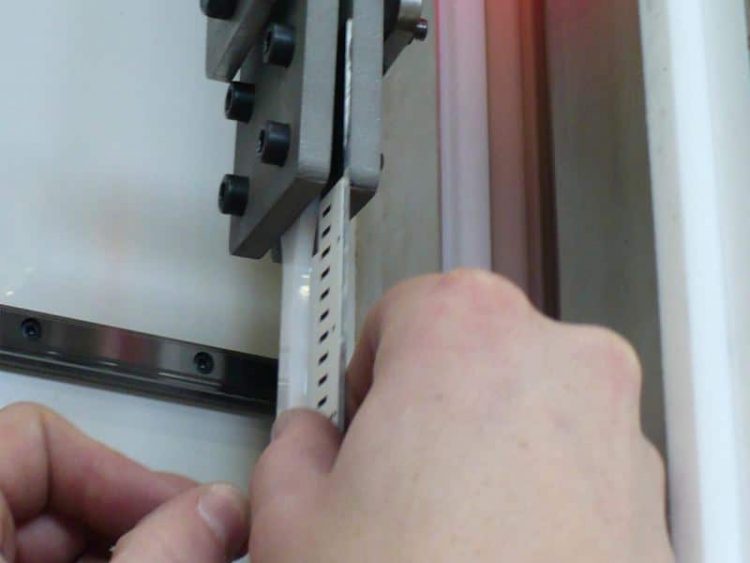
Ergonomics
Simple attachment of specimens and optical calibration rulers.
TECHNICAL CHARACTERISTICS of the creep test bench
Specifications | MBFL |
Traction jack | |
Tensile force | 20 000 N |
Max. speed | 40 mm/s |
Cylinder stroke | 200 mm |
Force measurement accuracy | 1 N |
Force measurement resolution | 0,5 N |
Displacement measurement resolution | 0,1 µm |
Vision extensometry | |
Optical vision-based displacement measurement | 975 mm max. |
Multi-tube extensometry | |
Optical measurement sensitivity | 0,0001 mm |
Optical measurement accuracy (without reference rule) | ± 0,01 mm |
Relative optical measurement accuracy on reference ruler | ± 0,001 mm |
Thermal enclosure | |
Temperature control of the thermal enclosure | Up to 250°C |
Control | ± 1°C |
Heating power | 2 000 W |
Retracting the thermal enclosure | |
Mixed air | |
Double resistance | |
Specific software | |
Programming test parameters | |
Saving test parameters | |
Movement control and functions | |
Displacement, force and temperature measurement acquisition | |
Display of the various measurement parameters | |
Archiving results | |
Fatigue tests | |
Tensile tests | |
Cyclic tensile tests | |
Automatic traction ratios | |
Dimensions of a workstation | |
Width | 550 mm |
Height | 550 mm |
Depth | ≈ 2 210 mm |
Weight | ≈ 300 kg |
Power supply | |
Power supply 220 V single phase + earth + neutral | 4,8 kW |
Customer applications
Discover LF Technologies’ expertise in mechanical test benches through our customer applications.
